Welcome to My Blog!
Hi everyone, this will be my first attempt at writing a tech blog and for our subject we are going to look into Public Key Infrastructure (PKI), certificates, the ACME protocol, and device attestation using hardware security modules (HSM). I recently took part in a CTF put on by Smallstep and in doing so I learned a tremendous amount about these subjects that I hadn’t even heard of before coming across the challenge. We’ll go over each of the topics I encountered in trying to solve the CTF, what I learned, what worked and what did not, and what I’ve been able to take away. As a primer, I can highly recommend this blog post from Smallstep, entitled “Everything you should know about certificates and PKI but are too afraid to ask”.
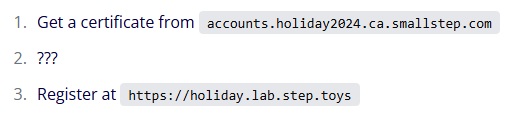
The 2024 Smallstep Holiday Project was a capture-the-flag style event that required participants to acquire a certificate from a certificate authority from a given url and then use that certificate to..... we weren’t sure at the outset. The second step consisted of three question marks only. The third and final step asks you to register at another url to complete the challenge.
In addition to those three steps above, we are told that we are going to need either a Yubikey or an Apple Device with Secure Enclave. Lastly for instruction, we are given two SHA256 hash values in the Discord server that will help us. We can start to put the pieces together here and forge a path forward. We know that this challenge will involve acquiring an ACME certificate from a Certificate Authority (CA) and we know that we are going to need certain special hardware in order to do so for the first step.
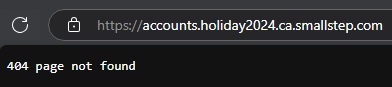
We know that the certificate authority server is not going to look like much when viewed in a browser.
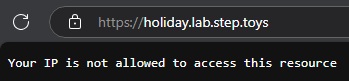
Here is what it looks like if we try to access the url to register for the prize without doing any of the steps. This provides us with some clues we can explore in more detail below.
It didn’t take too long from here to discover that the first of two SHA256 hash values will allow us to bootstrap to the Certificate Authority at the first url. Bootstrapping to this server means we are going to establish an initial trust with it. Depending on your environment there are a number of ways to accomplish this but the SHA256 value we were given will serve here as a fingerprint of the CA’s root certificate. Now that we have established this trust with the CA server, we can begin to interact with it. We can view and download this server’s root (using step cli) and intermediate certificates (using OpenSSL). We will need these for some future steps. Given our clues, we know that we need to acquire an ACME certificate here from the CA. The certificates are doled out by provisioners on the Certificate Authority server so let us see what provisioners are available using the step cli tool. The first provisioner type is listed as OIDC and the name is “authority-admin”. Let us assume for now that it is for authorities who are administrating things, that doesn’t seem to apply to us now.

The second is also listed as OIDC but the name here is “SSO access for https://someproxyserver.smallstep.com”. That doesn’t seem to apply to us either, for now. I didn’t realize when I first saw this that it would play an important role later on.

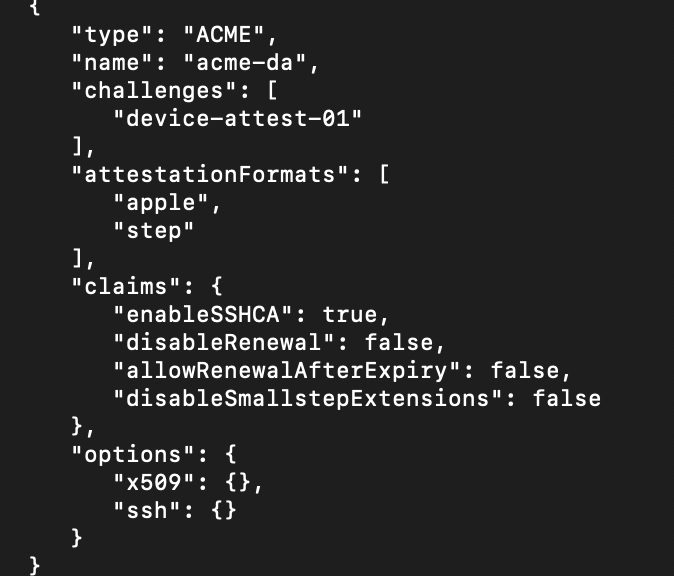
The third and final provisioner is an ACME type with a simple name of “acme-da”. Now this is what we have been looking for. The ACME (Automated Certificate Management Environment) protocol is an open standard designed to automate the process of obtaining and renewing TLS/SSL certificates. The protocol allows clients to prove ownership of something, a domain or a device for example, using cryptographic challenges. This is widely used today to streamline certificate issuance and secure websites, devices, and services. We can begin to see here that we are going to need to prove who we are to this CA in order to get a certificate from it. We know from the clues we need to utilize a hardware-backed key solution so now we understand that we will need to accomplish Device Attestation. This attestation is a security mechanism that will allow a device to prove its identity to a remote server as well as prove the device has not been tampered with by using those cryptographic challenges mentioned before.
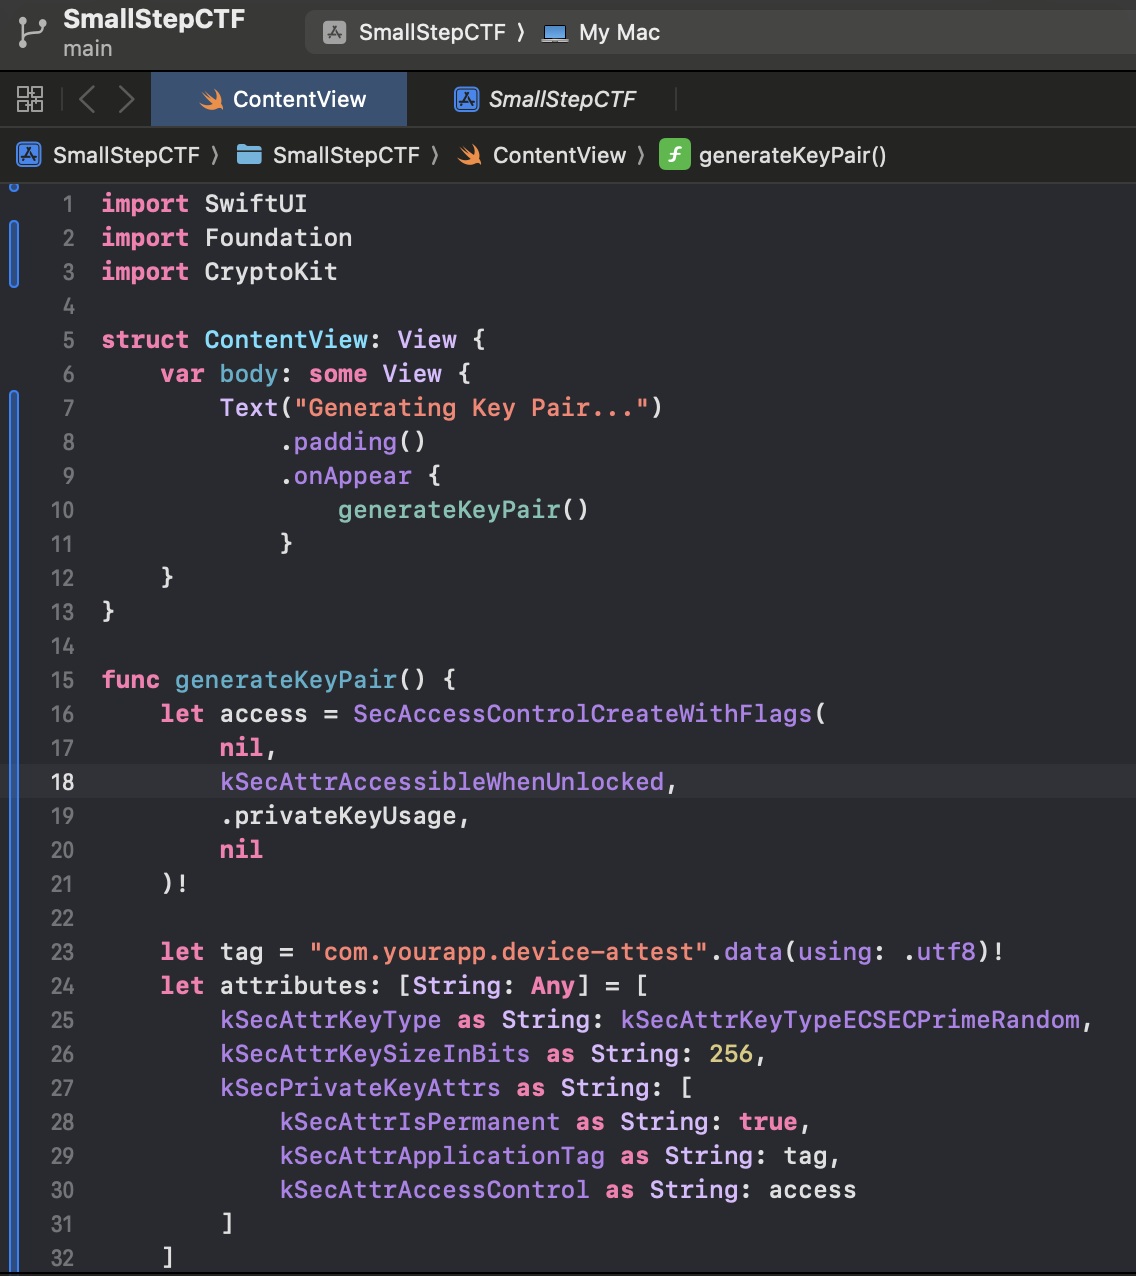
Alright, now that we found the provisioners and we know what they are used for..... I had little idea what to do next. I did not own or use a Yubikey for this so I would need to use the Apple attestation format. I (thought I) knew that I would need to generate a keypair in the Secure Enclave on my device, but I did not know how to do that. I had an idea that I would need to use the keypair for a Certificate Signing Request during the enrollment with the CA server, but I definitely did not know how to do that either. I set to reading and was helped along by a few others in the Discord server who were equally, or nearly, as stuck as I was. After some reading through Apple Developer documentation, I decided to try to generate a secure keypair using code written in Swift with Xcode on my laptop. I spent several hours on this, and I managed to write a small app that says it was generating a keypair though I’m sure it was actually doing no such thing.
A portion of the code from Xcode that I conjured up with the help of ChatGPT
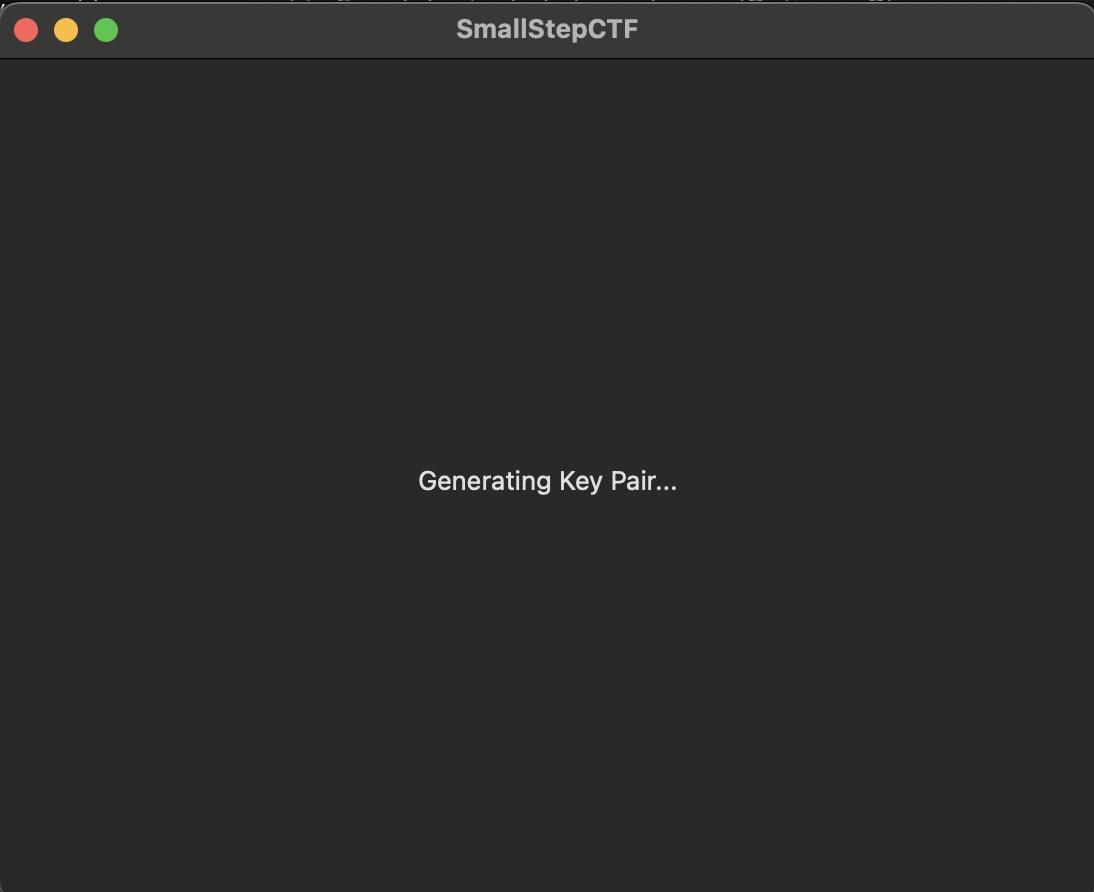
I could leave this app going for as long as we like.... Maybe one day I will circle back to it and see if it ever generates anything.
Eventually, it became clear we’d need to try another path. Someone in the Discord chat mentioned they had found some success using a .mobileconfig file. This was added to the list of things I had never heard of or used before so back to the Apple documentation I went. Here is the point where I started getting to the heart of this challenge and really learning some cool new stuff. According to the Apple support docs here, “You can configure the ACME Certificate payload to obtain certificates from a certificate authority (CA) for users of Apple devices enrolled in a mobile device management (MDM) solution. ACME is modern alternative to SCEP. It is a protocol for requesting and installing certificates. Use of ACME is required when using Managed Device Attestation.”
If you are going to configure a mobile profile for an Apple device while on an Apple device then it would make sense to use a product like Apple Configurator, right? Here I spent several more hours. Did you know that there was an Apple Configurator 2? Neither did I but it wouldn’t matter as I soon came to learn as neither of these are capable of supporting newer payloads like the ACME payload needed here. I went so far as downloading nanoMDM and beginning to set up my own Mobile Device Management environment where I could test my profile out and attempt to issue a certificate to myself.
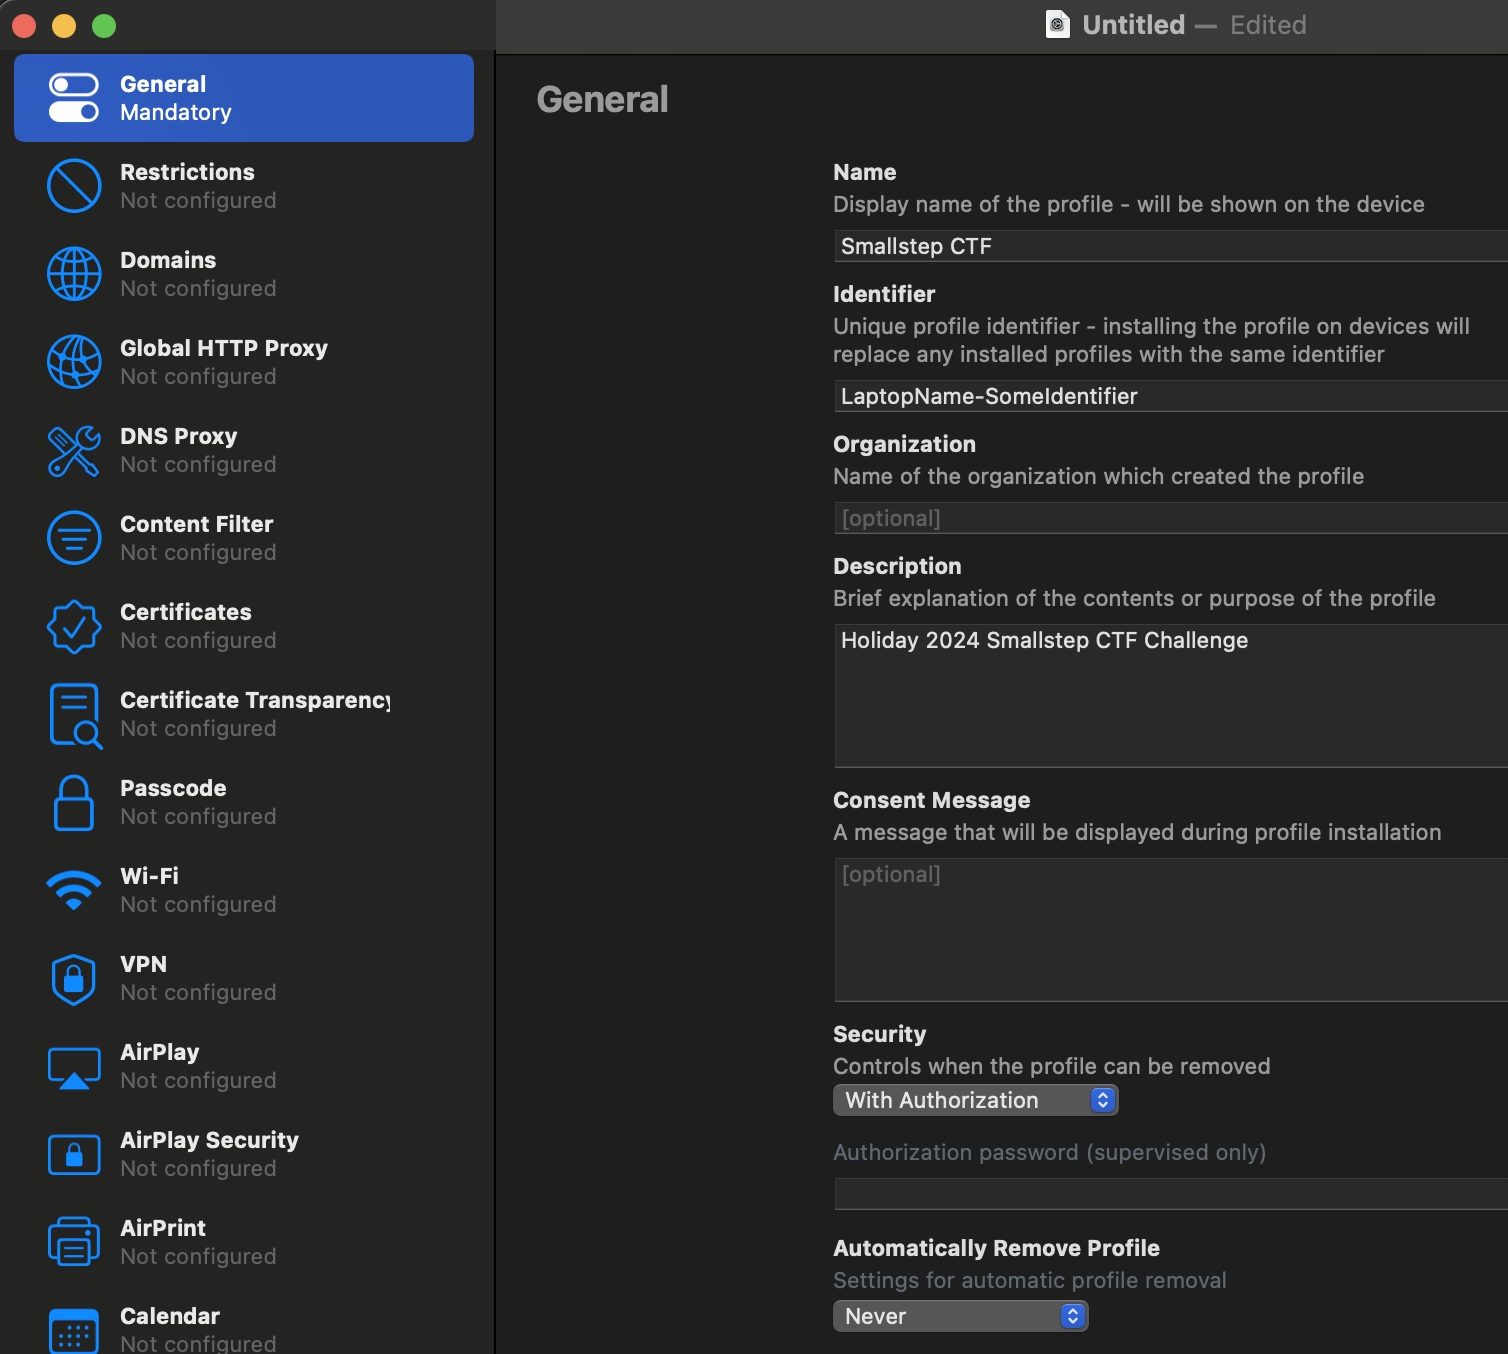
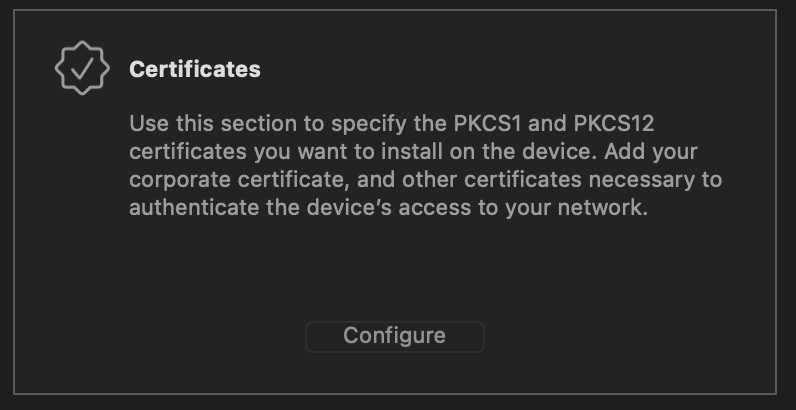
Apple Configurator
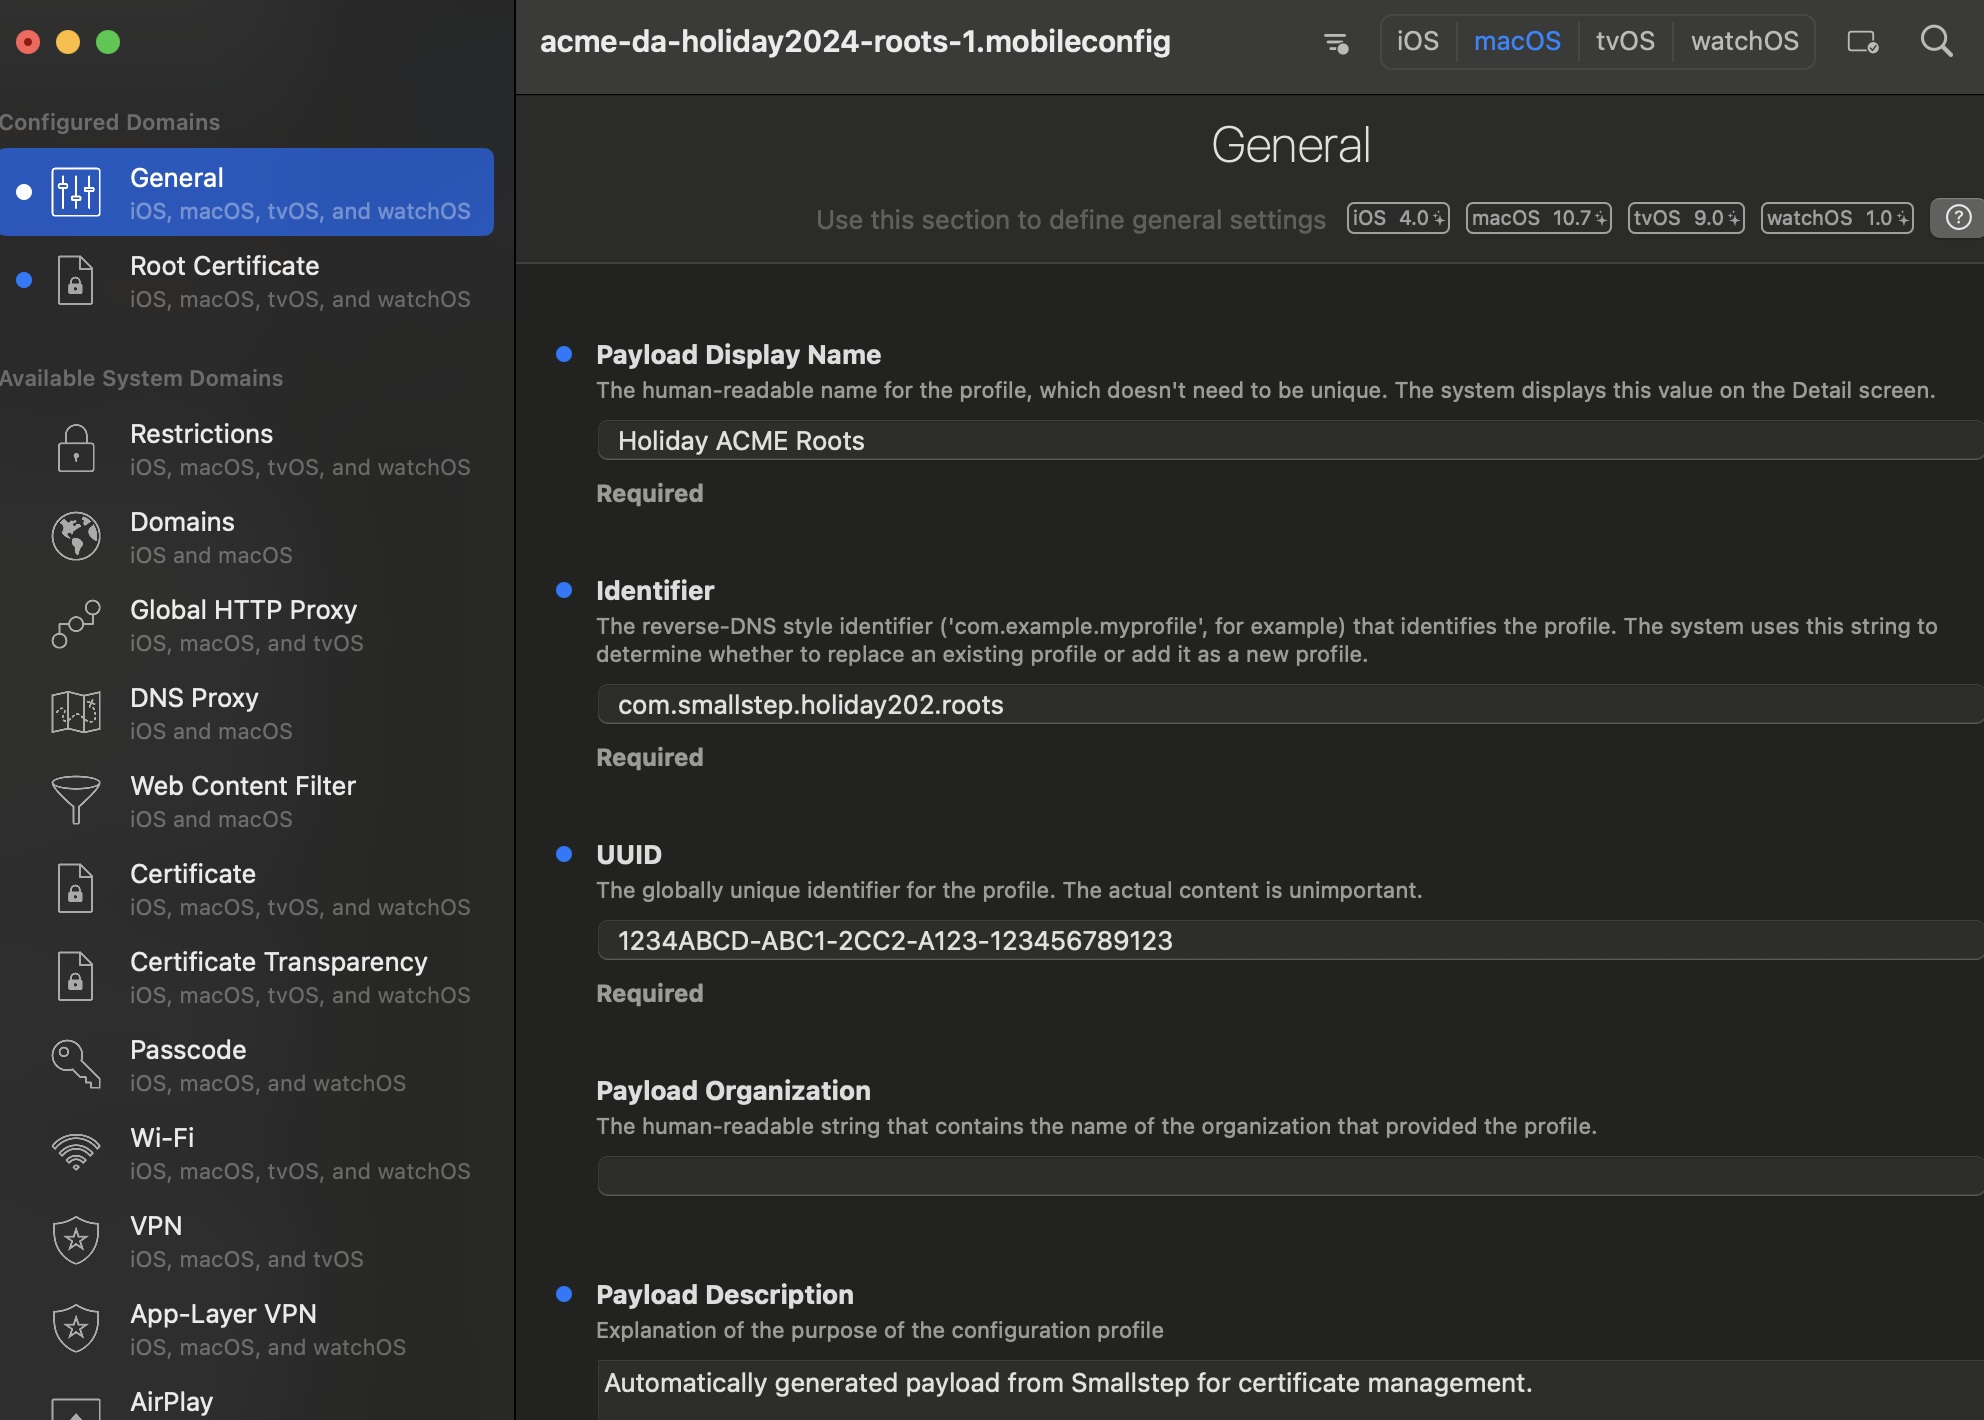
Thankfully, after some further failures and attempts at writing the payload in TextEdit or Terminal we came across an MDM profile program called iMazing that would support editing the payload we need. Now we are ready to use this program to generate a couple MDM profiles to proceed. Initially, this is where one of my biggest hangups stems from. What I did in iMazing is install a profile containing the CA’s root and intermediate certificate alongside my ACME payload. I successfully received the ACME certificate in this way, but I had no idea where it was or what to do with it. I was still stuck looking for a keypair to use and interact with. Here I came to learn that the ACME Certificate and any keypair used in the process of attaining it were locked away securely in the device’s Secure Enclave. By design, these are not meant to be accessible or viewable on the device. If they were, then it wouldn’t actually be very secure. Ultimately, this is around the section of the challenge that I become stuck and unable to make it any further on my own.
I will describe the rest of the challenge below as I came to understand it after it concluded, with the help of the final walk-through video linked at the bottom. I had successfully acquired the root and intermediate certificate from the CA, I had generated an MDM profile that allowed my device to receive attestation from Apple and then attain the ACME certificate from the CA provisioner. I even revisited that proxy server mentioned above and managed to acquire the certificate for it. The crucial step that I did not understand at this stage was that I needed to include the certificate from that proxy server in my MDM profile to allow me to go forward and interact with the second URL. Some other participants had experience and knowledge that I had not yet come across while in my early IT-study stages. The second URL showed “Your IP address is not allowed to access this resource” because it was specifically set to only allow the egress IP of that proxy server seen in the provisioner list. No matter what I did, there was no way to proceed with my public-facing IP address from my home network. I needed to go through that proxy server and even though I had its certificate I had not ever loaded the certificate into my MDM profiles alongside the ACME certificate. I was missing an important piece of the puzzle at this point and found myself unable to proceed or figure it out on my own.
MDM Profile in iMazing
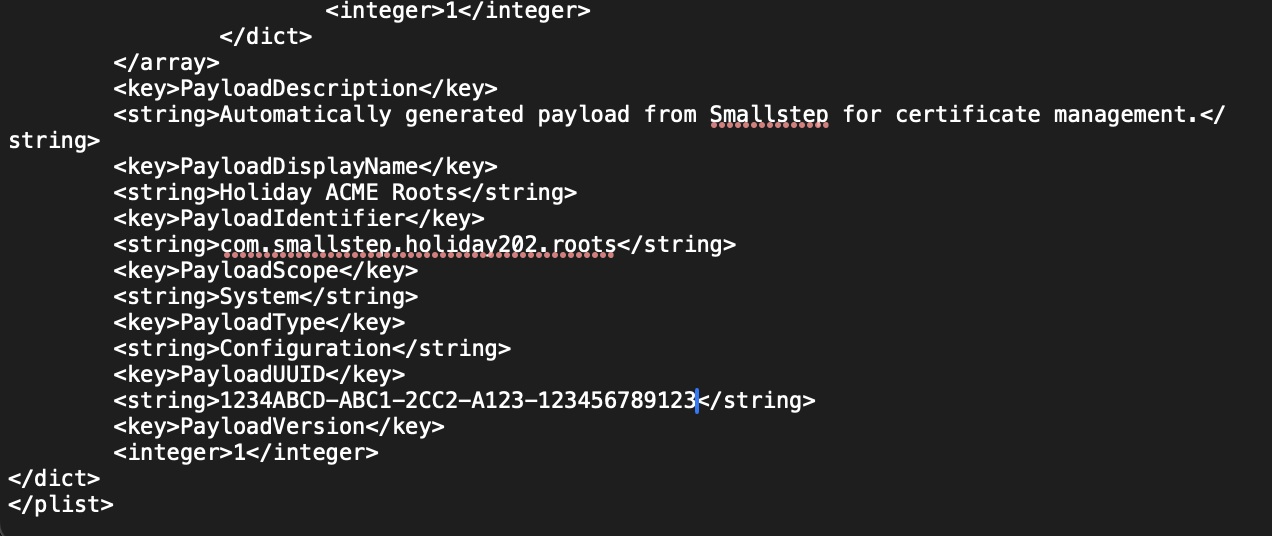
Portion of payload as viewed in TextEdit

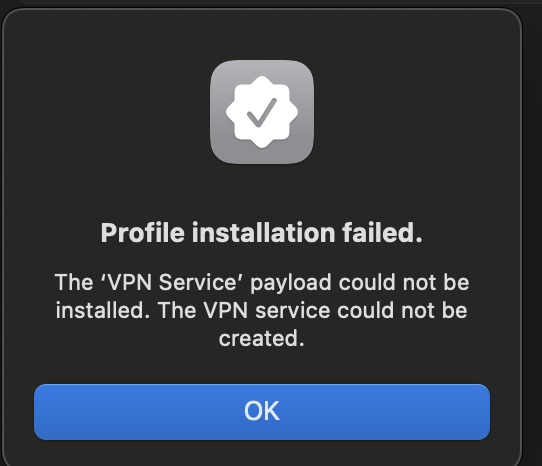
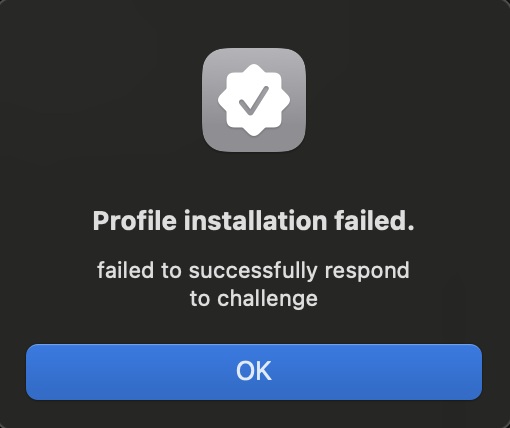
I encountered a number of different errors if I had small typos in my ACME payload.
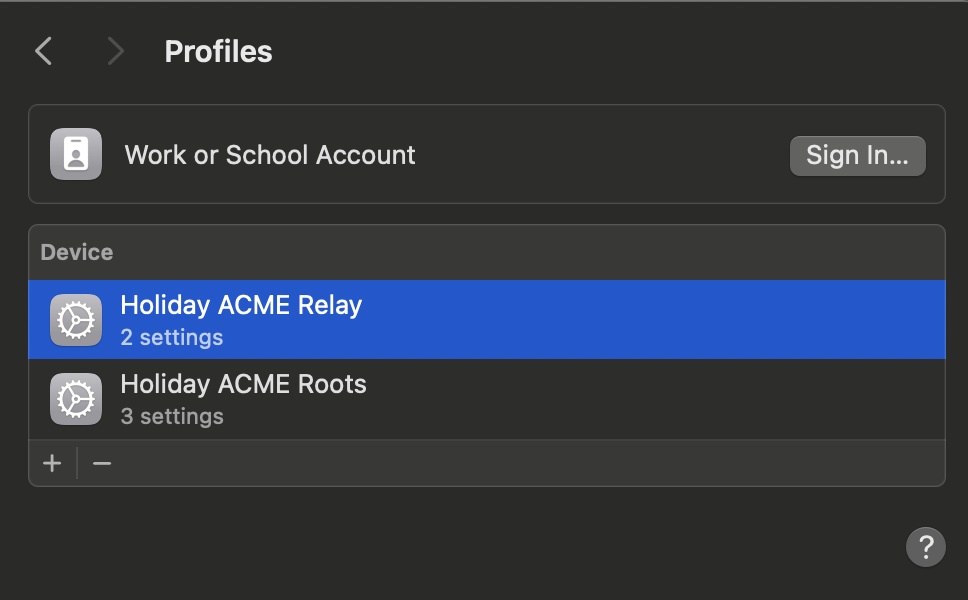
This screenshot shows our two profiles now loaded and with attestation from Apple
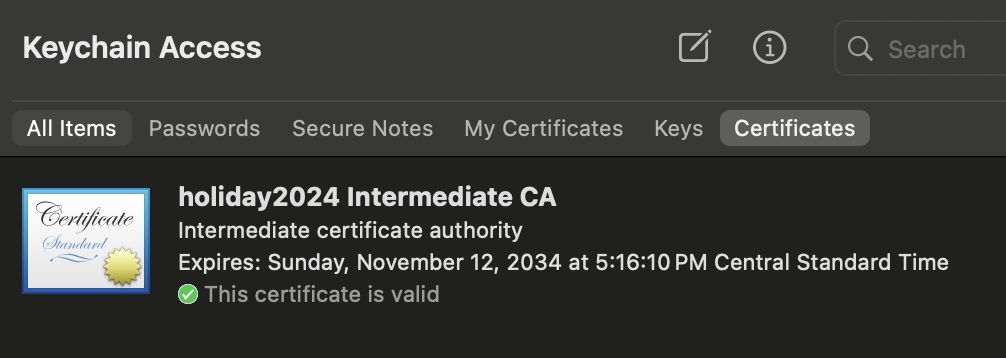
Here are two screenshots showing the CA’s root and intermediate certificates in our Apple Keychain Access

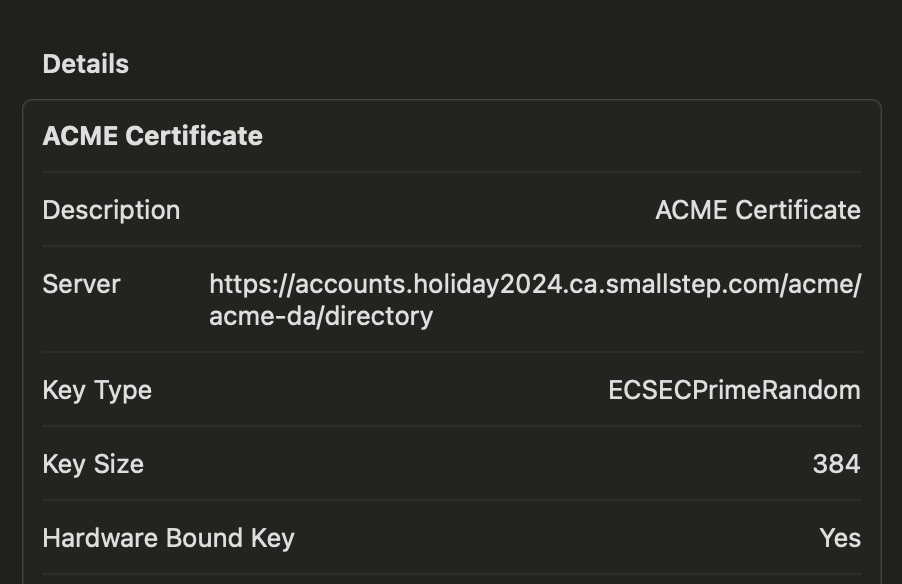
Here we can see evidence that we have successfully acquired the ACME certificate, but this is about the limit of interaction with it that I was able to find.
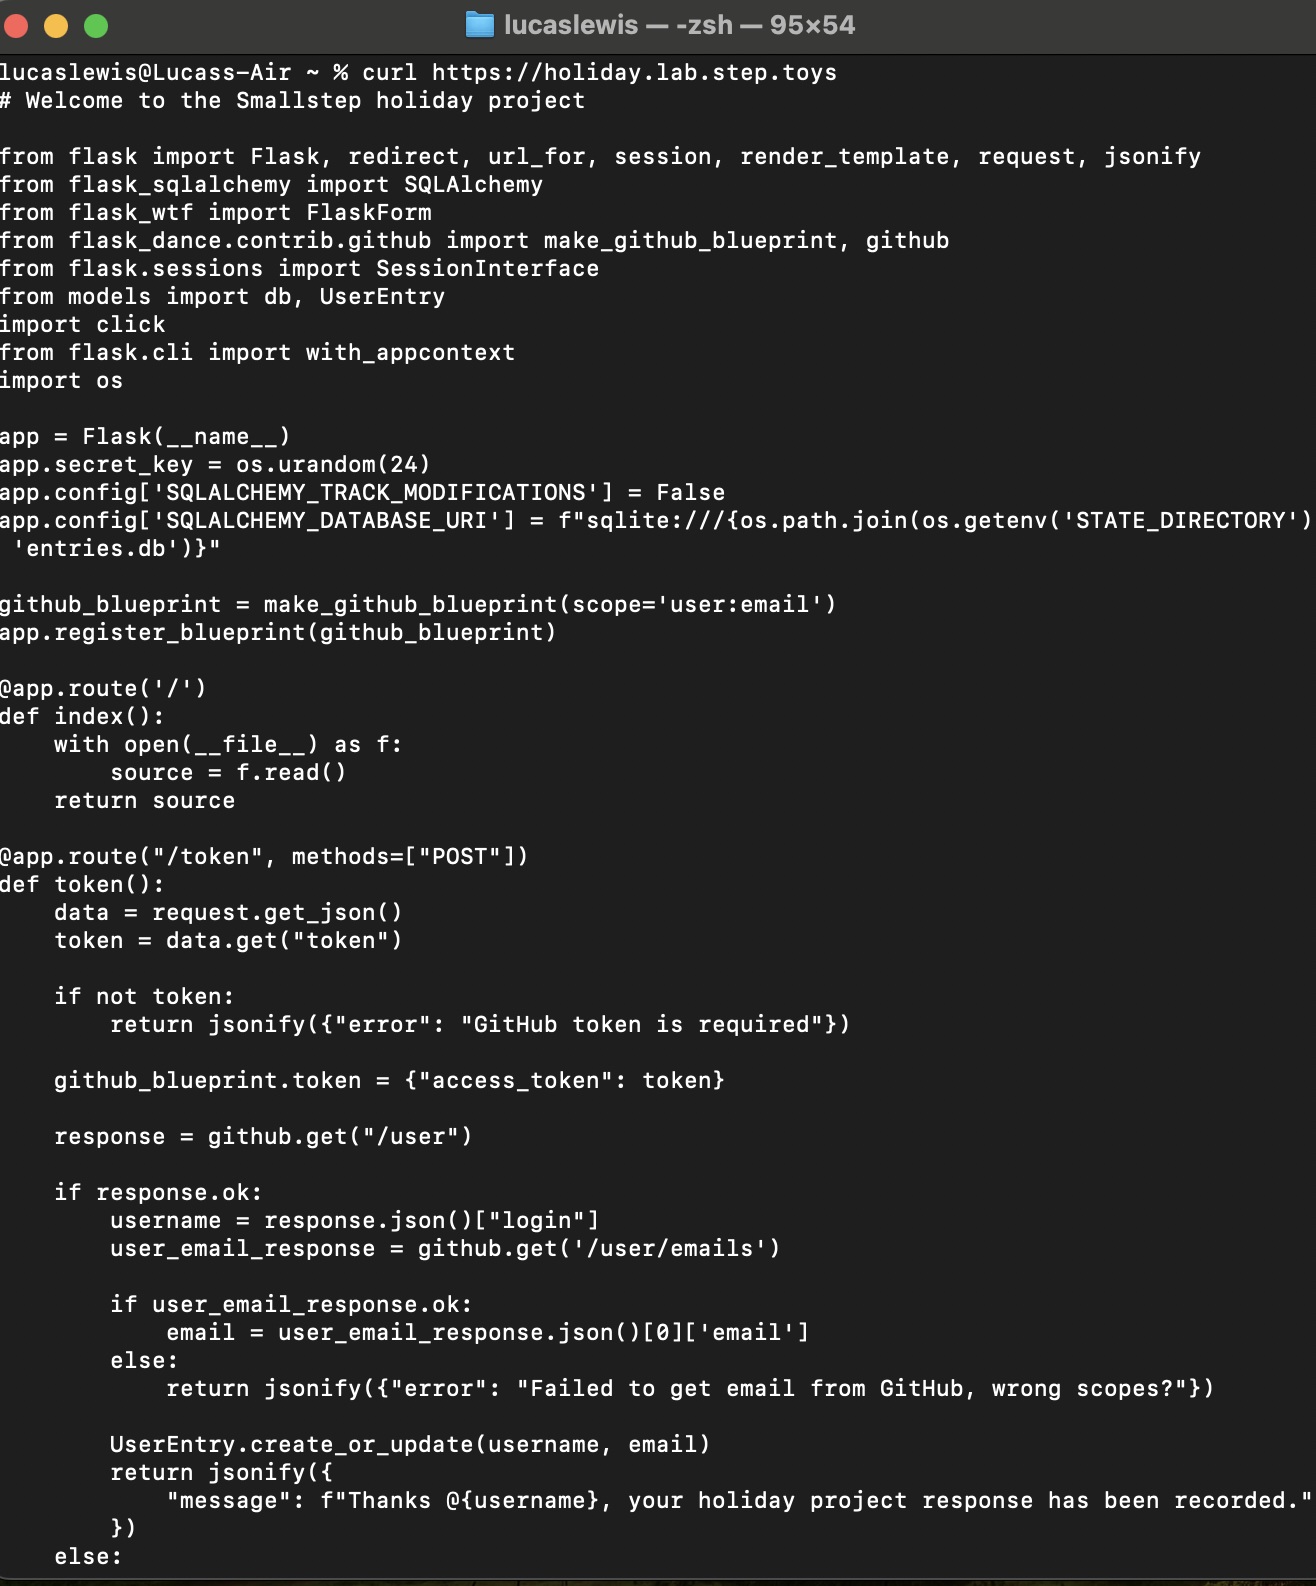
At the end of the challenge the walk-through video was posted, and the servers and resources were in place for a few extra days. I watched the video a few times to understand what I was lacking and proceeded as shown below. I used a second MDM profile to load the proxy server certificate alongside my ACME payload and continued on. Once the two profiles were loaded, I could interact with the second URL and could see that there was a Flask app here. The app required a Personal Access Token from my github account, linked to my personal email address. This is how the challenge participants would register for the prize and “capture the flag”.
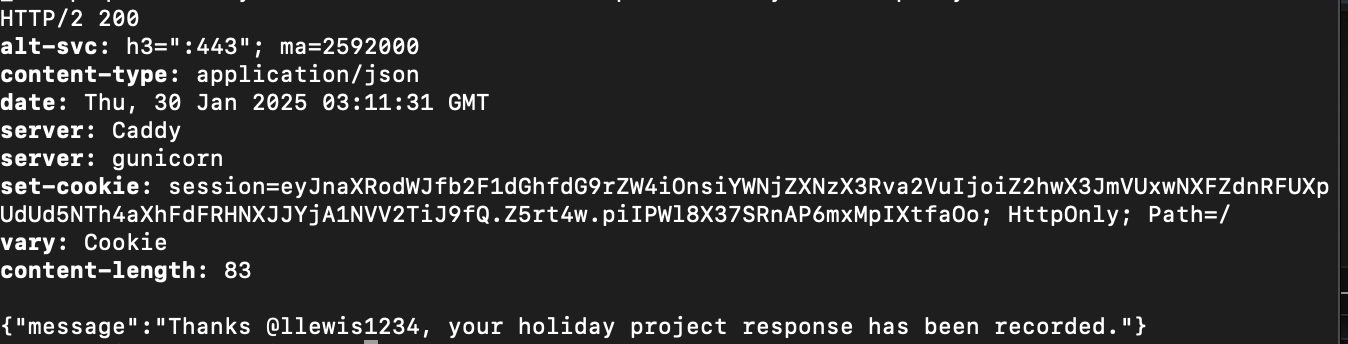
Here is the output of the curl command in Terminal now with profiles loaded and our ACME certificate in the Secure Enclave
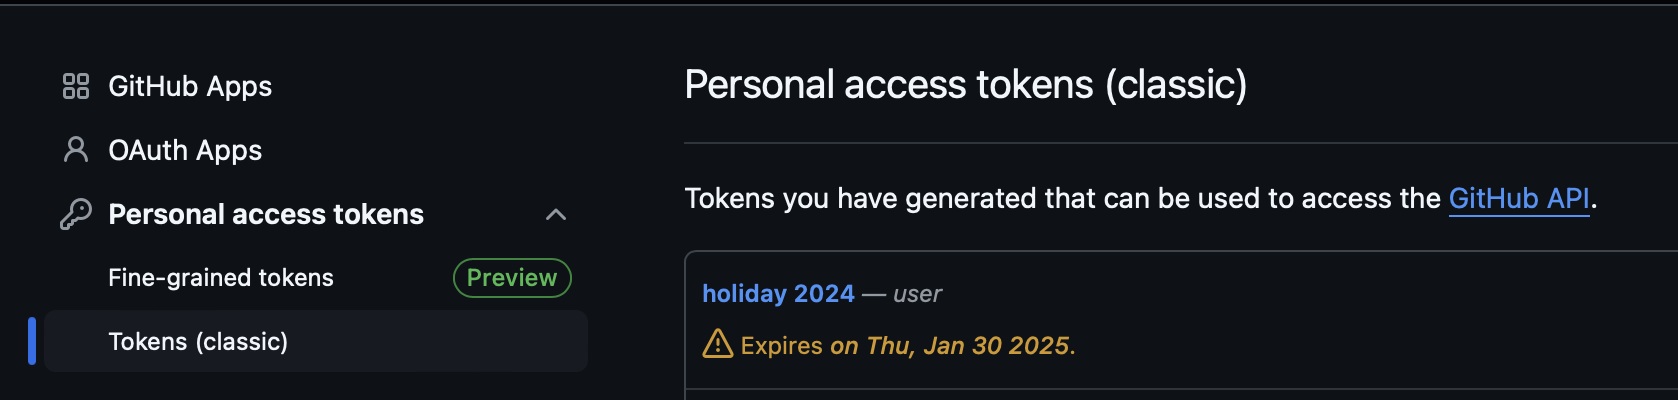
Here is the section in Github > Developer Settings where we create a Personal Access Token that is tied to our username and email address
Finally, here is our acknowledgment that we have completed the challenge and gone through the necessary steps to register – the flag has been captured.
Here is the final walkthrough video, posted after the challenge had concluded. The Apple Silicon portion begins at the 12-minute mark.
Thank you to Smallstep for putting this challenge together. I learned things that I couldn’t have guessed at the beginning I would be going through. Subject areas I encountered, studied, and lost sleep over include: Xcode, ACME, provisioners, certificates, attestation, Swift, Flask, personal access tokens, proxy servers, and the list could go on. This was a very instructive experience and I’m already looking forward to the next one. I‘m sure by the next time around I will have the tools and requisite knowledge to make it to the top of the final hill!
-Lucas Lewis